Properly cutting your T-shirts before quilting makes everything easier later—your blocks stay square and your rows line up. This method is fast, repeatable, and works for almost any standard T-shirt.
Step 1: Lay the Shirt Flat and Smooth It Out
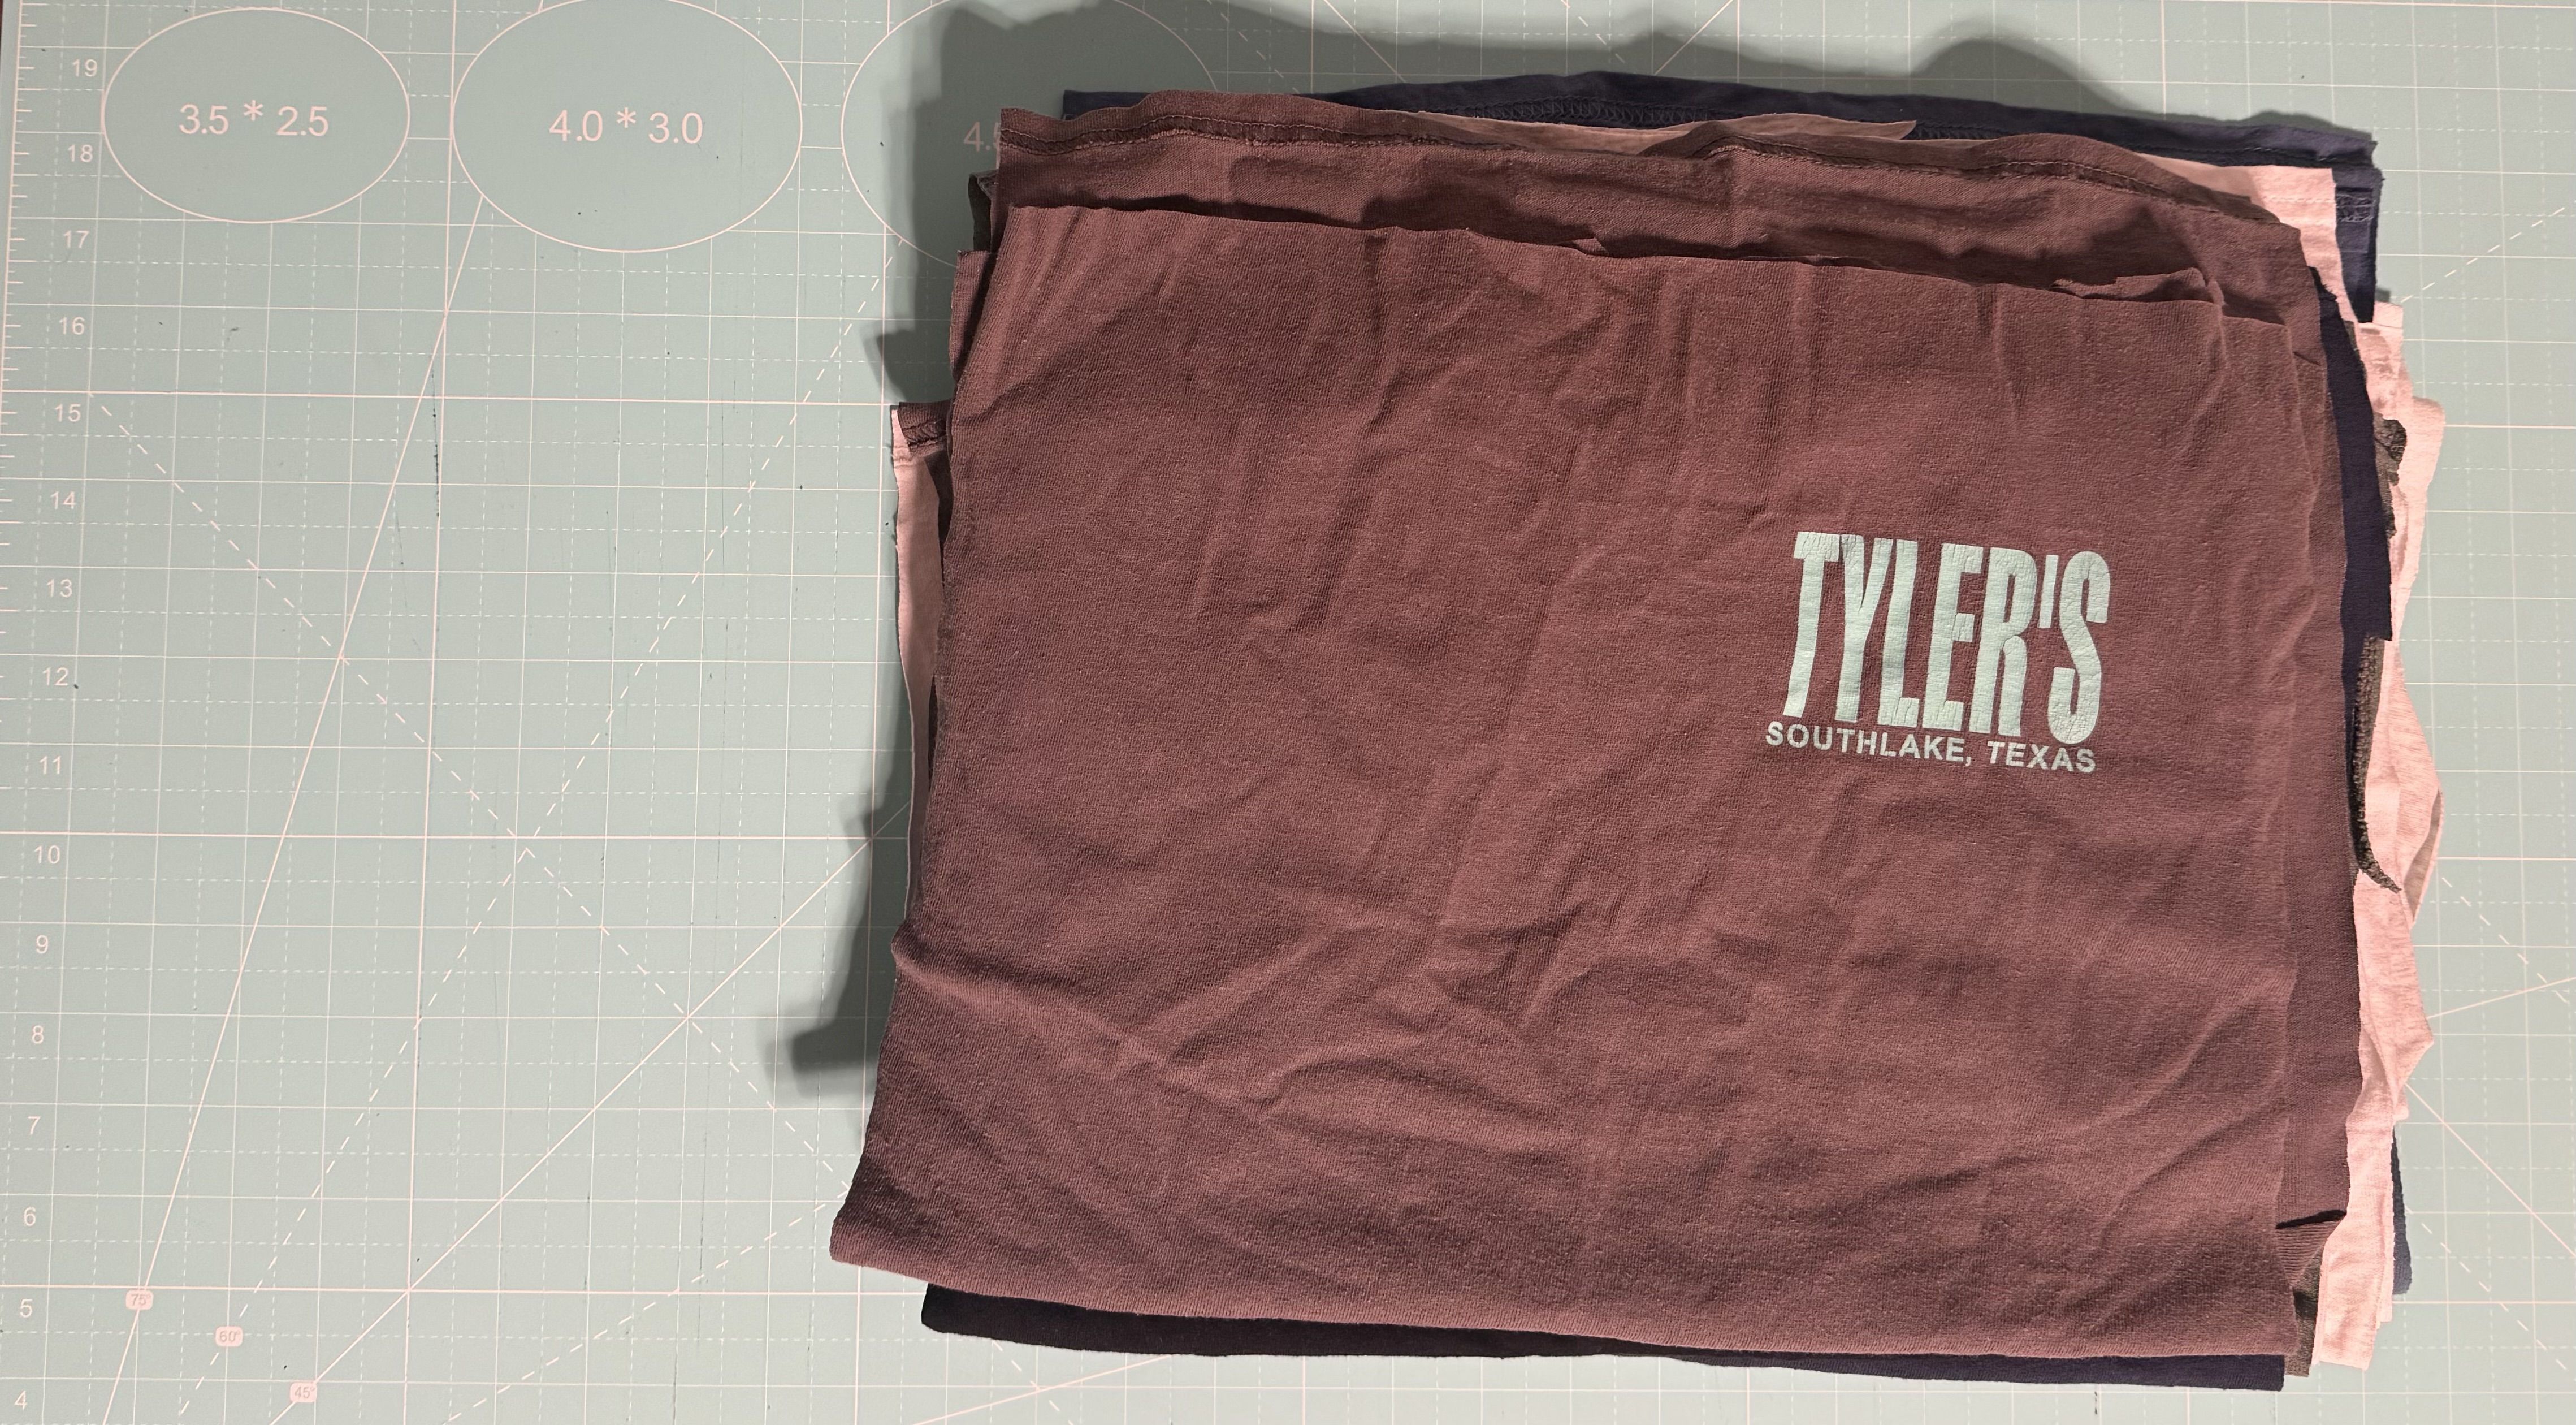
Start by placing the t-shirt on a large cutting mat. Smooth out all wrinkles, especially around the logo area.
Make sure:
-
The shirt is centered on the cutting mat
-
The neckline is straight
-
The hem is lying flat
Step 2: Fold the Shirt in Half
Fold the shirt vertically, matching the side seams. Line up the sleeves as closely as possible so both sides are even. This ensures symmetrical cuts and saves time since you’ll cut both sides at once.
- Use the horizontal grid lines on your cutting mat to make sure the shirt is straight

Step 3: Cut Off the Sides and Sleeves
Using a quilting ruler, align the ruler along the sleeve seam. The sleeve seam is your guide—it helps you remove the sleeves and side seams while keeping the logo centered.
-
Hold the ruler firmly in place
-
Cut straight down with a rotary cutter

-
Repeat on the other side if needed.
- Remove sleeves and side seams
You should now have a clean rectangle with the logo centered and ready for stabilizing and squaring.
💡 Tip: Always double-check that your ruler is square with the grid before cutting. A slightly angled cut now can cause frustration later when squaring blocks.

Step 4: Cut Away the Neckline
Next, remove the neckline to create a clean, usable rectangle of fabric.
You can do this one of two ways, depending on how the shirt will be used in your quilt.
Option 1: Cut Front and Back Together
If you are only using the front of the shirt (or the back is blank), keep the shirt folded and aligned.
-
Smooth the fabric again, making sure the front and back are even
- Align the shirt sideways on a horizontal line of the quilting mat to ensure a square cut
-
Use your ruler to line up a straight vertical cut just below the neckline seam
-
Cut through both layers at once
This is the fastest method and works well when the back of the shirt does not contain a design you need to preserve.

Option 2: Cut Front and Back Separately
If both the front and the back have images, you’ll want to cut them one at a time to avoid accidentally cutting into a design.
-
Unfold the shirt
- Align the shirt sideways on a horizontal line of the quilting mat to ensure a square cut

-
Cut off the neckline from the front, keeping the design centered
-
Flip the shirt over and repeat for the back

This method gives you two usable panels from one shirt and ensures each image has enough fabric around it to be squared later.
Step 6: Final Check
After removing the neckline, check that:
-
The design is centered left to right
-
The top and sides are straight
Once this step is complete, the shirt is fully prepped and ready for stabilizing and trimming into quilt blocks.